


Assalaamu ‘alaykum,
In this post, I’m going to share with you the resources I created to introduce the topic of Emaan (faith) and the Six Pillars of Emaan. This is Lesson 1, the introductory lesson, from a series of lessons on our unit: “The Six Pillars of Emaan”.
For each post in the series, I’ll give a brief overview of the topic and how I taught it, so that you can teach it too. I will also give you access to any worksheets I created for each lesson, inshaallaah.
Lesson Overview
Unit: The Six Pillars of Emaan
Lesson: #1 What is Emaan?
Grades: 6+
Topics Covered:
> The definition of emaan
> What are the 6 pillars of eman
> The difference between pillars of eman and branches of eman
Belief in Emaan and understanding what emaan is, is the first lesson in these series: The Six Pillars of Emaan.
- Lesson 1 – What is Emaan
- Lesson 2 – Belief in Allah
- Lesson 3 – Belief in the Angels
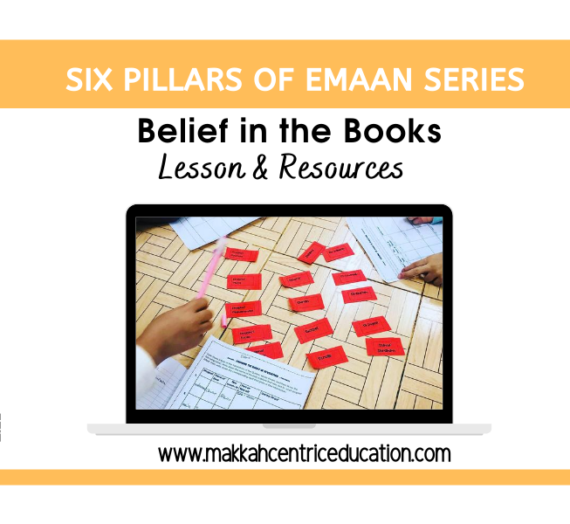
- Lesson 4 – Belief in the Books
- Lesson 5 – Belief in the Messengers
- Lesson 6 – Belief in the Last Day
- Lesson 7 – Belief in the Divine Decree
- Lesson 8 – Cumulative Project
Resources

Resource #1: What is Emaan worksheet. This pdf includes the definition of eman with examples, along with a brief overview of the 6 pillars of eman, and a description of what is meant by the branches of eman along with examples. There are follow up questions including a commitment to focus on doing one deed to increase your eman and one deed to stop to protect your eman from decreasing.

Resource #2: Emaan has 3 parts. These are pictures to represent the definition of eman. Each image represents one of the following: belief in the heart, statement on the tongue, actions on the limbs, increasing, and decreasing. There is also a mini-table to go with each part of the definition.
**How I used this resource: I printed the min-table/chart on the back of each corresponding image. I then handed each student an image. In less than 2 minutes they were to find other peers in the class with the other images to complete the definition of eman. Once they had their group, they were to form a line or decide on how they will explain to the rest of the class what the definition of emaan is while holding up each image as they explain. Then in their new group, they filled in the table on the back of each with examples for each component of emaan.
***Alternative for lesser students: If you have only one student or less than 10, you can paste or hide the pictures around the room and have your child find all the pictures that formulate the complete definition of emaan by finding all five pictures to represent belief in heart, on tongue, on limbs, increasing, and decreasing emaan.

Resource #3: KWL chart for the 6 Pillars of Emaan. A kwl chart is a good way of activating students’ prior knowledge and increasing their wonder of the topic. It gives you an idea of what they don’t know and what they’re interested to learn. I recommend revisiting the chart as you go through the unit so that they can add what they’ve learned, or any new questions they may have.
**How I used this resource: I printed the kwl chart behind each pillar. I gave each student-pair one pillar and asked them to write down what they already know and what they wonder. Then after a few minutes they passed the paper to the pair next to them, while they received the paper of the student-pair on their left. Now they are completing a new kwl chart for a different pillar. They also get to see what others have already written. This will continue until each student-pair has filled out a kwl chart for each pillar.
***Alternative strategies for lesser students. You may do one kwl chart for all the pillars. In the resource is a large size chart as well. Or you can do one kwl chart before the start of teaching the lesson on that specific pillar. That way you won’t have one child doing so many kwl charts in one session, unless it’s doesn’t bore them. It could actually be a fun discussion, and if they are put off by all the writing, you can do the writing for them, or use an anchor chart that can be displayed on the wall throughout the unit. The goal is to activate prior knowledge to prepare for the learning, so if you can minimize obstacles by taking away the burden of writing, better to do so.
Alright, here are your resources:
If you have any questions, just let me know here in the comments section and I’ll be happy to answer. If you would like to share how you taught this lesson or used the resource, or anything else…. we’d all love to hear about it!!
Assalam alykum wa rahmatullahi wa barakatu,
Dear Sister I would be very grateful if you can share Lesson Plan and resources of Belief in Allah and Belief in Books/scriptures also. I am a new teacher so i need your help to teach my students nicely. I used your lesson resources for belief in Angels it really wonderful.
Wa’alaykumus salaam wa rahmatullahi wa barakatu
Hey Nazia, I’m so happy you found my resources useful. I do have resources and a lesson for the belief in the books. Inshallah, I’ll upload them soon. I didn’t create any resources for the belief in Allaah unfortunately. But I have some things for the other pillars. I’ll make them available on my blog gradually inshallah. If you need them right now, send me an email, and I’ll see what I can share.